Compiling Crystal on ARM
Compiling Crystal on ARM is not very common. This is how I did it in order to compile and test CNF Conformance on ARM.
This is a comprehensive howto on setting up a free image CDN for your website, whether it's personal or even for a small business using Backblaze as your public bucket and Cloudflare to utilize caching.

I help friends and some clients run websites. A majority run these off Digital Ocean, Linode, Vultr and other cloud based virtual solutions. A majority of these are pretty small in terms of disk space allocated.
Using backend CMS like Wordpress or Ghost, one must be cautious on their media uploads. Also consider if you load balance, each node or virtual instance must share or be in sync. This could lead to more costs or administration overhead.
There's an easy solution to store most if not all your images from a source that doesn't change while keeping your HTTP URL's intact if you move your site from one host provider to another, etc. This is what most would call a content delivery network, otherwise known as CDN.
This solution will also cache your images, saving you download costs from the CDN. The solution is Cloudflare + Backblaze.
Both of these services have free account options. Cloudflare will allow you a basic account for single domains that includes DNS, caching and some other basic protection for your website, along with a handful of page rules (this is key to get working for Backblaze). Backblaze starts one off with 10GB of free storage.
Pre-requisites:
First things first, whatever domain you are planning on using to setup the Cloudflare + Backblaze CDN needs to have it's nameservers pointed at Cloudflare. Following the directions from Cloudflare on how to do this once you've signed up.
In my case, I registered a new domain to use as I did not want to use my primary domain for my site to use Cloudflare's DNS.
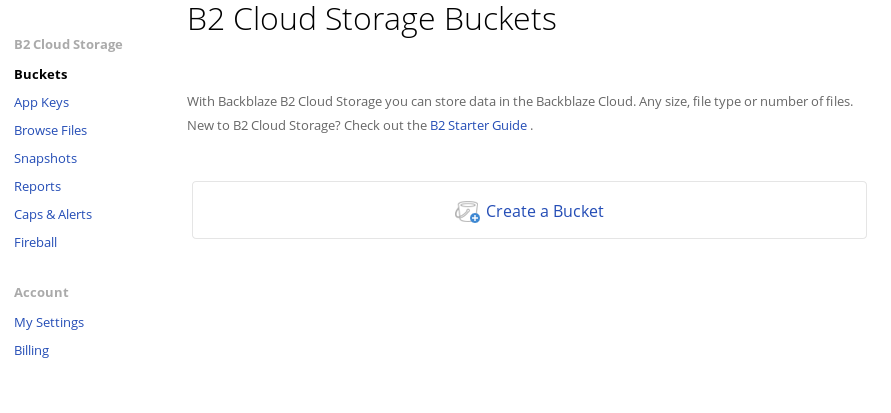
First things first, we need to setup a Backblaze B2 bucket that is publicly accessible. Keep in mind, since you'll be sharing images and files that are intended to be accessible, you don't want to use this bucket for any sensitive files not intended to be shared to the world.
Setup the B2 Bucket:
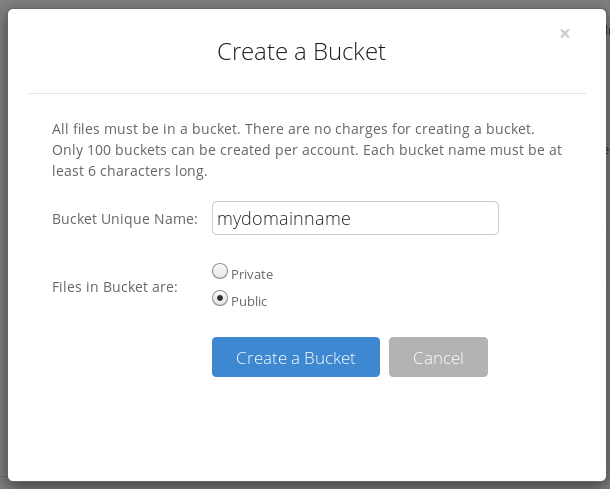
2. The bucket has to be a unique name, this goes for across all their clients. Using your domainname is unique but it will tell you if it's valid or not. Also check off the "Public" option.
3. Once created, you should find it available in your bucket list.
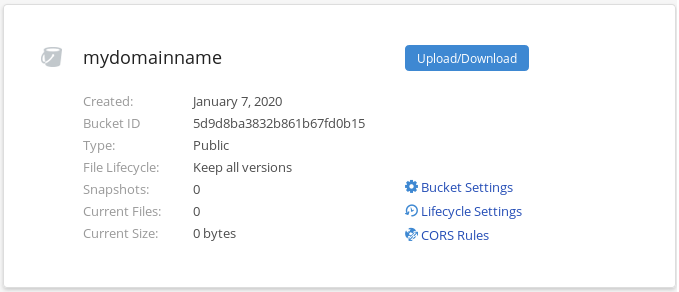
4. To proceed, we need to upload an image to get it's friendly URL properties in order to setup the Cloudflare page rules for your domain and so you link images and files you want to share through Cloudflare that is hosted at Backblaze. click the Upload/Download and it should take you to the following:
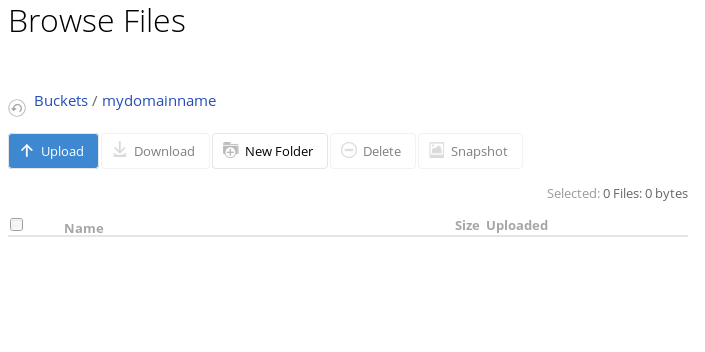
5. You can drag or drop files, or click to select from your local drive. Select the image you want to upload and it should present you with a file listing under the bucket.

6. Click the info link to the far right to bring up the file properties, where you can find the Friendly URL to find the domain name in the URL we'll need for Cloudflare setup.
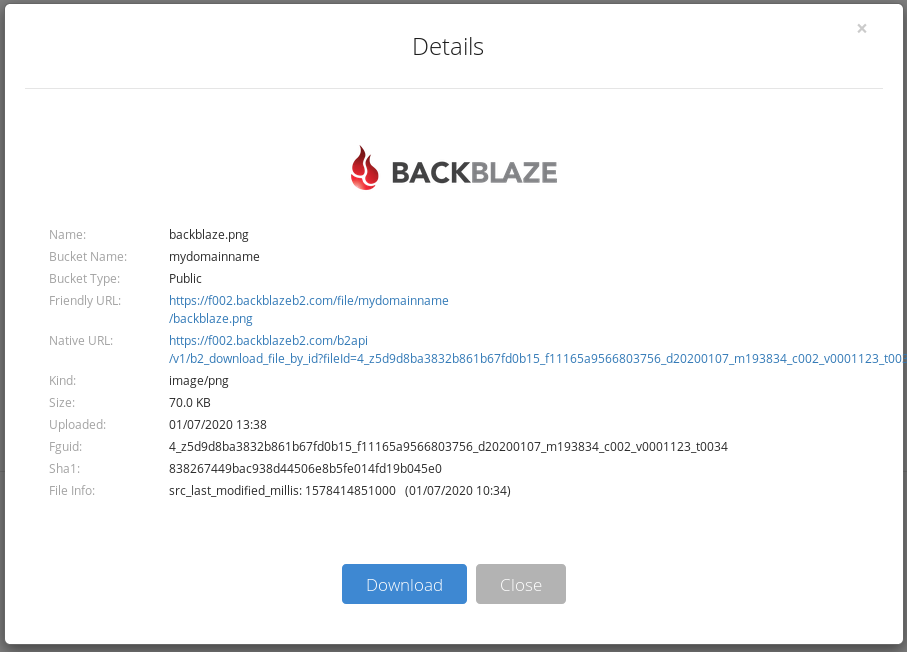
In the Image details, you'll see the f002.backblazeb2.com in the Friendly URL for the image. Save this domain info for the next steps.
First step is to create a CNAME record for your domain. It's probably best to setup a subdomain, you intend to use it for images, images.domain.com is what you'll be setting up. The CNAME will point to the f002.backblazeb2.com (unless your bucket domain is different than that, I've seen f000.backblazeb2.com as well).

This will create a CNAME record which will turn images.mydomain.com to poing to f002.backblazeb2.com. Click save and it might take a while to propagate but you can continue one without the CNAME getting picked up by your ISP DNS, which can take a while.
2. Browse to the Page Rules:
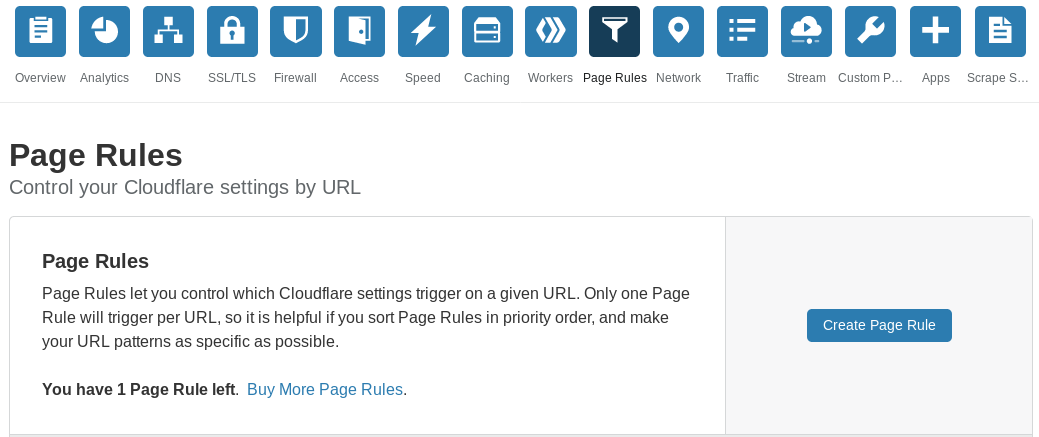
With the free account, you get up to 3 page rules. You will only need to create 2 page rules.
3. Click Create Page Rule button and do the following:
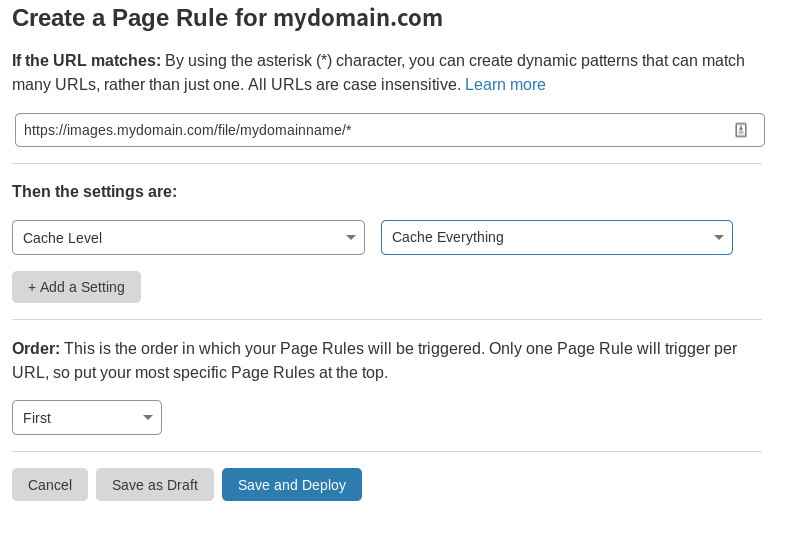
Basically the URL is the CNAME that now points to Backblaze domain but inclues the file/mydomainname/* path which leads to the images being hosted. The mydomain is the name of your bucket, which you can see in the Friendly URL you grabbed earlier.
Select "Cache Level" in the first drop down and then it will prompt with a second dropdown where you select "Cache Everything".
Select the "Save and Deploy".
4. Now we create a redirect page rule. Select Create Page Rule and fill in the following fields as below:
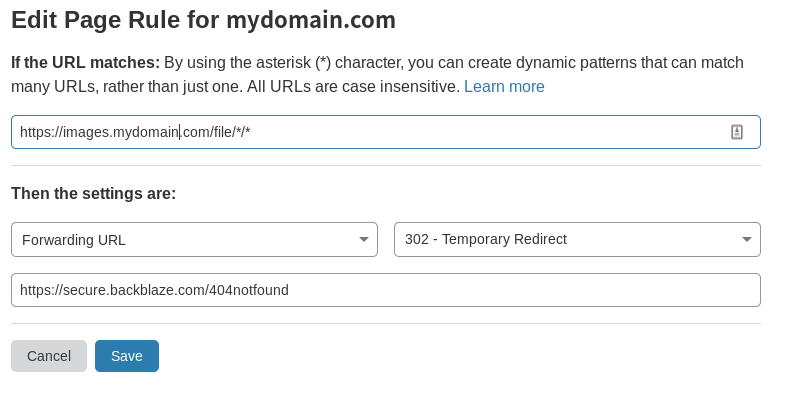
Basically the first field is the same URL as before but you put an * where the bucket name was at in the URL path.
Then select "Forwarding URL" for the first field, "302 - Temporary Redirect" for the second field and then you can put https://secure.backblaze.com/404notfound as the Destination URL.
Click "Save" and now it should display your new page rules.
If DNS has propagated for your CNAME, now instead of loading your image from https://f002.backblazeb2.com/file/mydomainname/image.jpg you can substitue the domain to https://images.mydomain.com/file/mydomainname/image.jpg which will load through Cloudflare, cache your image and begin serving out the cached image.
Now one thing to note is you can get backblaze for free up to 10GB of file storage. If you run a busy website, Backblaze records B and C Class downloads of files for their B2 buckets. You're only allowed around 1500 or so under the free account. If you exceed this, it could prevent images from loading, despite being cached at cloudflare.
The cost of these is so low though, I went ahead and added a credit card to my own account so I'm not limited. Just to give you an idea of cost, I have a pretty busy website that gets around 300k views a month on average and my yearly cost from Backblaze for the B and C Class downloads was only $0.03 for the year. Checkout Backblaze for more details on these limits and costs.